Photographing the night sky can be a magical and rewarding experience. It enables us to capture the heavenly bodies’ celestial beauty in a way that our naked eyes cannot appreciate. Plus, there’s just something extraordinary about seeing a starry sky preserved in an image, like a little piece of infinity that we can hold in our hands.
Importance of Night Sky Photography
Night sky photography, or astrophotography, is significant for several reasons. It not only lets us take beautiful photos of the stars, planets, and galaxies but also serves as scientific documentation of the cosmos. This form of photography can also help to increase our appreciation and understanding of the vast universe we are part of.
Brief Overview of the 10 Essential Tips
In order to capture the beauty of the night sky effectively, there are several techniques and pointers to keep in mind. These include understanding and adjusting shutter speed, ISO, and aperture, finding the perfect location, using the right equipment and software, and much more. Keep reading to discover these ten essential tips for breathtaking night sky photography which will help you to take stunning starry night images.
Understanding the Equipment
Nighttime photography, particularly focusing on the breathtaking expanses of the starry sky, demands a good understanding of your equipment. Night sky photography tends to push your gear to its limits, thus knowing how to choose and use your equipment can make all the difference.
Choosing the right camera for night sky photography
When it comes to capturing stars in your photos, not every camera will deliver the desired outcome. You need a camera with good low light capability and the option for manual setting. DSLR and mirrorless cameras with larger sensors work best as they are more sensitive to light.
Recommended lenses for capturing stars
In the realm of lenses, wide-angle and fast lenses are your best bet. Look for a lens with a wider aperture (f/2.8 or lower) to let in more light, and a focal length between 14mm and 24mm to capture more of the sky.
Tripods and other essential accessories
* Invest in a sturdy, compact tripod; a must-have for night time photography to eliminate camera shake.
* Remote shutter release can prevent camera movement when you take a shot.
* Consider purchasing a star tracker. It will allow your camera to follow the movement of the stars, giving you sharp, precise starry night images.

Mastering Manual Settings
Having control of your camera’s manual settings is key to capturing your starry night images. It lets you adjust your camera according to the mood and atmosphere you want to capture.
Understanding ISO settings for low light photography
The ISO setting controls your camera’s sensitivity to light. For night sky photography, you’ll want to start with a higher ISO — around 1600 or 3200, and move upwards. But remember, a higher ISO can introduce more noise or grain to your images. – Start at ISO 1600 or 3200
– Increase if necessary, while watching for excessive noise.
Aperture and shutter speed settings for night sky shots
Your aperture should be set to the widest possible (lowest number), to let in as much light as possible. For shutter speed, you need a slower setting — 20 to 30 seconds works well. This allows the camera to capture the light traces of the moving stars. – Set the widest aperture (lowest number)
– Choose a shutter speed between 20 to 30 seconds.
Finding the Perfect Location
One of the most critical factors in achieving stunning night sky photography is choosing the right location. Sometimes, this might involve a bit of an adventure!
Researching dark sky areas
The first step to outstanding astrophotography is finding an area with minimal light pollution, often referred to as “dark sky” areas. Take advantage of comprehensive dark sky maps available online which indicate the light pollution levels across various regions. These can aid in identifying fantastic locations from which you can enjoy unobstructed views of the stars.
Avoiding light pollution
In your quest to capture the perfect night sky photo, one nemesis you’ll often encounter is light pollution. Light pollution washes out the visibility of faint stars and can significantly affect your photo quality. Essential tips to evade this include:- Avoid shooting near urban areas or cities.
– Time your photography sessions to coincide with New Moon phases, when the moon is not visible and the sky is darker.
Considering foreground elements for composition
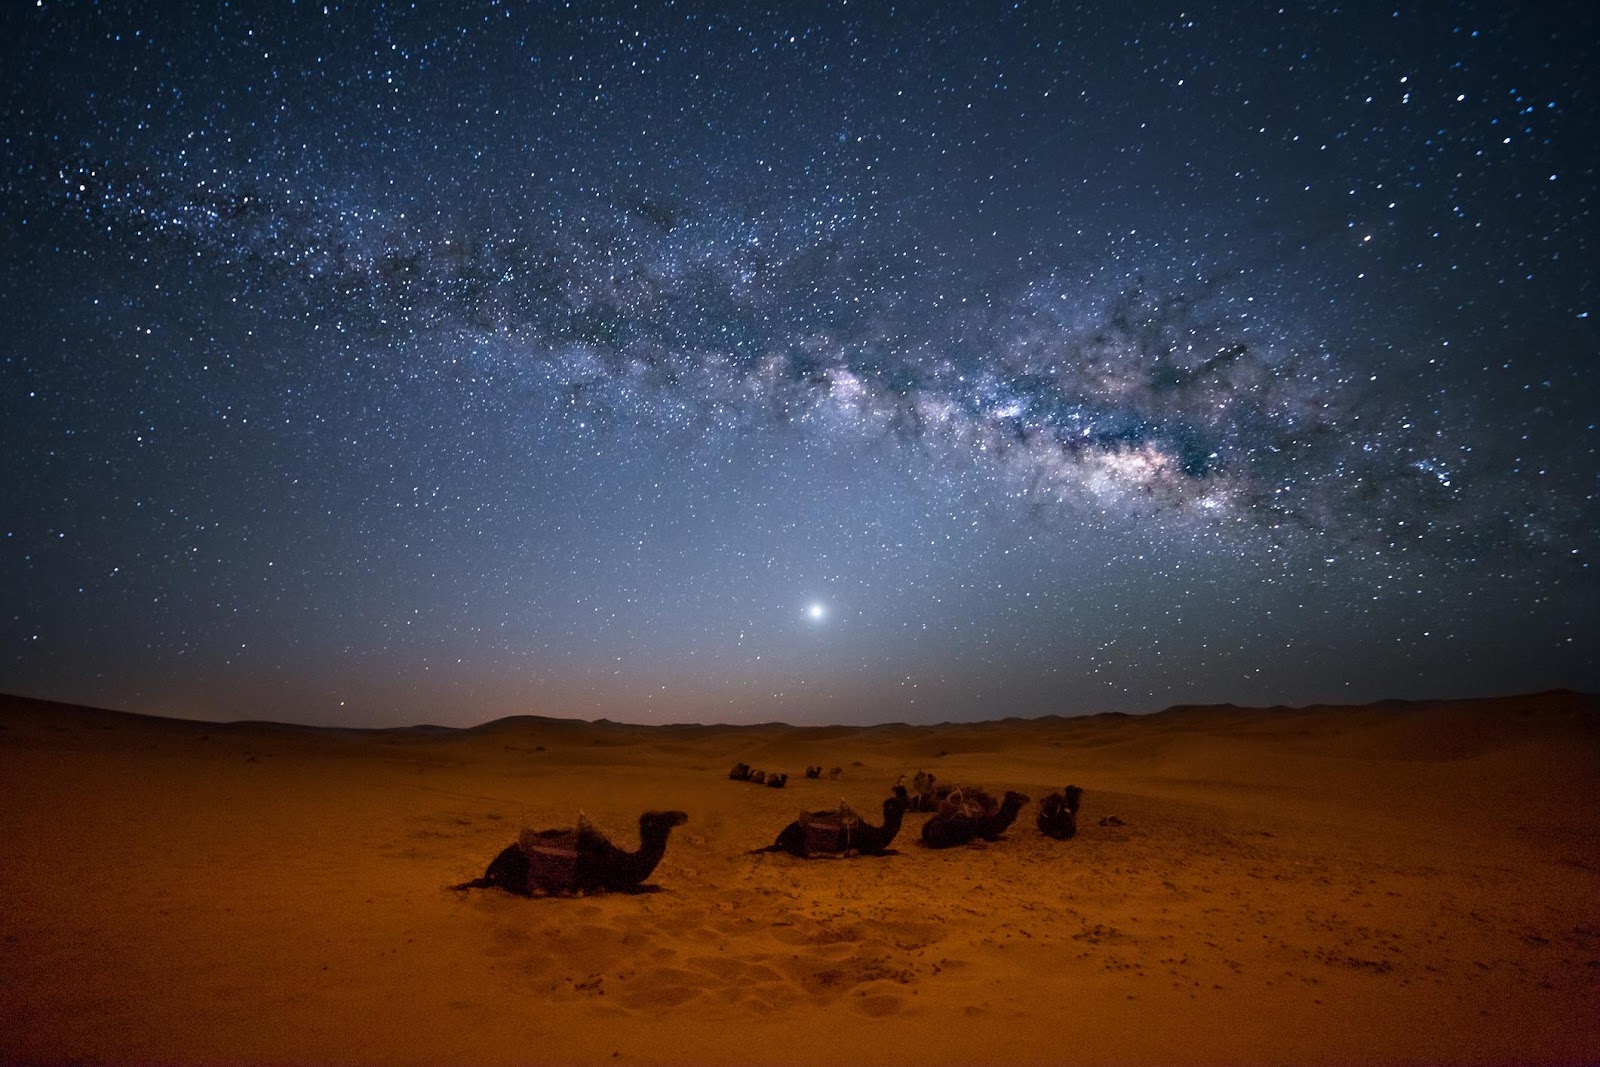
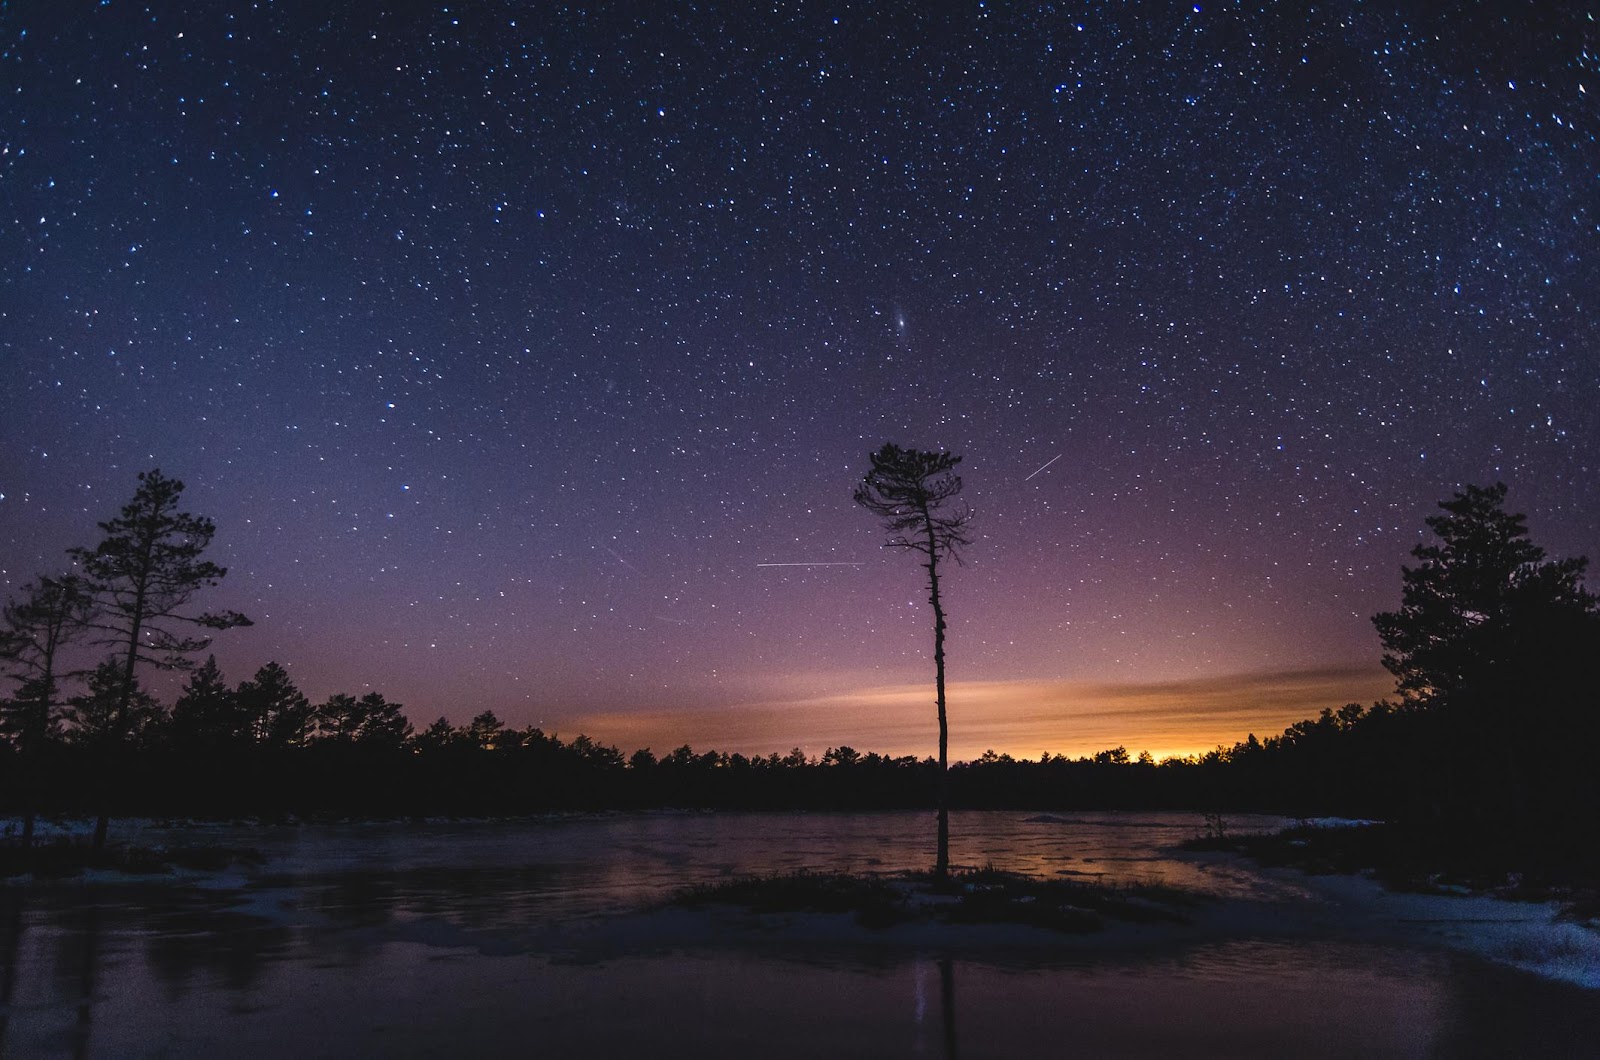
Lastly, while the stars will undoubtedly be the main focus of your photograph, don’t forget the foreground. Experiment with different landscape elements, like tree silhouettes, mountains, or water bodies, as they can add depth and interest to your image. A well-balanced composition will captivate viewers and truly make your starry night images come alive.
Timing is Key
One of the most vital aspects of night sky photography is timing. Understanding the natural lighting the moon and stars provide will drastically improve the quality of your photos.
Planning your Shoot According to Moon Phases
Astrophotography is a game of light and darkness. The phase and position of the moon can significantly impact your images. Opt for the new moon phase or periods when the moon has set for truly dark conditions, ideal for capturing the dazzling stars.
* New Moon Phase: Minimal moonlight ensures a dark backdrop, making galaxies and stars stand out.
* Moon-set Time: The time when the moon sets, leaving only stars behind, allows maximum exposure for your photos.
Best Times of the Year for Night Sky Photography
Certain times of the year offer greater opportunities for night time photography. For instance, winter months provide longer nights, and the sky often appears clearer, making it perfect for capturing starry night images. Milky Way shots, on the other hand, are commonly best-taken during summer months. Do a little research on celestial events in your location for a bonus!
Preparing for the Shoot
Going out into the field for night sky photography demands preparation, particularly if you want to capture the most mesmerizing starry sky images. This preparation starts from understanding the weather to packing the right gear.
Checking the Weather Forecast
Your first step should be to check the weather forecast. Clear skies are perfect for night time photography, so be aware of the cloud cover and moon phase. Too much cloud cover can block your view of the stars, while a full moon can wash out fainter stars and galaxies. Don’t forget to track the Milky Way’s positioning if you plan to include it in your shots!
Dressing Appropriately for Night Shoots
Depending on the location you choose, temperatures can drop significantly overnight. Dressing appropriately can make the difference between a comfortable and an unbearable night shoot. Always carry warm clothing, even in the summer. Remember to bring gloves to protect your hands, especially since you’ll be handling metal equipment that can get incredibly cold.
Packing Essential Gear and Supplies
Lastly, pack the right gear. To produce top-notch starry night stock photos, ensure you have:- A camera with manual mode
– A sturdy tripod
– A fast wide-angle lens
– A remote trigger or intervalometer
– Extra batteries and memory cardsDon’t forget to bring a red flashlight to preserve your night vision, a star map or astrophotography app, and snacks to keep your energy up during those long hours under the stars.
Focusing in the Dark
Night sky photography definitely necessitates mastering the art of focusing in the dark. Luckily, there are two techniques that can be of great help in this endeavor.
Mastering manual focus techniques
For starters, engaging the manual focus feature will yield sharper starry night stock photos. Your camera’s autofocus system might get confused in low light conditions, therefore manual mode is the safer bet. To get the best focus, set your focus to infinity, then back off just a tad until stars are sharp and clear.
Using back-button focus for precision
Furthermore, utilizing the back-button focus feature can bring greater precision to your night time photography. This technique separates the focusing and shutter release functions, offering an extra level of control. Instead of relying on halve-pressing the shutter button to focus, use the AE-L/AF-L button or a similar feature on your camera. This way, once you’ve focused on the stars, you won’t have to refocus for each snap.
Capturing Stars and Milky Way
Whether you are a beginner in photography or an experienced shutterbug, capturing the night sky dotted with stars or the majestic sweep of the Milky Way can be a thrilling experience. It requires a unique blend of skill, equipment, and patience. Follow the tips below, and soon you’ll be capturing stellar masterpieces.
Long Exposure Tips for Capturing Stars
When you’re aiming to capture the twinkling stars, long exposure can be your best friend. It uses slow shutter speeds to allow more light into the lens, resulting in brighter stars in your photo. Primarily:
• Use a sturdy tripod to prevent camera shake that can lead to blurry images.
• Set a shutter speed of 20-30 seconds.
• Shoot in manual mode and keep ISO between 800 and 3200.
Techniques for Capturing the Milky Way
Seeing the Milky Way with the naked eye is incredible, but photographing it is even more spectacular. A few simple techniques can help:
• Find a location with little light pollution.
• Use a wide-angle lens to capture more of the sky.
• Experiment with your camera settings; a good starting point is with an aperture of f/2.8, ISO 3200, and 30 seconds exposure time.
Using Star Stacking for Better Results
Star stacking is a technique used in “night sky photography” to reduce image noise and get sharper star and galaxy shots. You capture multiple images of the same spot in the sky and then combine them using software. This process improves the photo’s overall quality, producing stunning starry night images you’ll be proud of!
Dealing with Noise and Grain
One of the common challenges you might come across while capturing the stunning spectacle of the night sky is dealing with noise and grain. This can often deter the clarity and overall quality of your photos. However, worry not! Here are a few tips to reduce noise and grain in your photos.
Reducing Noise in Post-Processing
The inevitable consequence of shooting in low light conditions is increased noise in photos. But don’t fret, you can reduce this using post-processing techniques. Play around with the noise reduction feature in editing software like Lightroom or Photoshop, but don’t overdo it or you might lose image detail.
Utilizing Noise Reduction Software
Specific noise reduction software, like Topaz DeNoise AI, is another great tool for handling noise. These tools are designed for preserving image detail while reducing grain. Remember, the key is to strike a balance between reducing noise and maintaining detail.
Editing Night Sky Photos
After the thrill of the night spent capturing the cosmos, your creative adventure is only half complete. The next step is post-processing or editing your photos.
Basic Adjustments in Exposure and Contrast
Your first point of action during editing should be making basic adjustments in exposure and contrast. Bring out the beauty of the stars against the inky black sky by increasing exposure slightly – but be careful not to overdo it! The aim is to enhance the lighter aspects of your photo without washing them out. Balance brightness with increased contrast to define and sharpen those starry shapes.
Enhancing Colors and Details
Next, enhance the tones and details of your night sky photographs. The right tweaks in color temperature and vibrancy can make a world of difference. Saturation and vibrance tools in editing software can emphasize the various colors of the cosmos from the deep blues of the night to the warm golds of distant nebulae.
• Play around with color balance, by adjusting for cooler or warmer tones.
• Use sharpening tools judiciously to bring out the minute details.
• Consider slightly increasing clarity or texture to make your stars really pop.
Tips for Creating Stunning Astrophotography Compositions
Finally, remember that sometimes, less is more. Try not to over-edit. Let the natural beauty of the night sky shine through. Crop and compose your images in a way that draws the viewer’s eye to the most compelling aspects. Play around with symmetrical or rule-of-thirds compositions for a striking result.In conclusion, good post-processing can transform your night sky photography from beautiful to breathtaking. Develop your skills in capturing and enhancing those starry night images and soon, you’ll have a collection of stunning celestial stock photos at your fingertips.
Showcasing Your Work
After capturing and perfecting your night sky images, the next vital step is sharing your work with the world.
Choosing the Right Platform to Share Your Photos
First off, ensure you choose the appropriate platform to display your photos. Options might include social media sites such as Instagram or Facebook, photography platforms like Flickr, or your professional website. Each platform has its specific audience and potentials.
• Your Instagram personal account provides a broad, active audience with a preference for stunning visuals.
• Flickr offers a more focused photography community.
• Your website affords you the chance to showcase your work in more detail than social media platforms provide.
Engaging with the Astrophotography Community
Engage with the astrophotography community. Join discussion boards, answer questions, and share your tips and tricks. Building connections with other photographers can offer valuable insights, feedback, and opportunities for collaboration.
Entering Competitions and Exhibitions
Last but not least, don’t shy away from entering your photos in competitions and exhibitions. These platforms provide excellent exposure, potential awards, and the invaluable experience of presenting your work to a discerning audience. Be open to constructive criticism, and always seek to improve. This journey is not just about capturing stars in photos, but also about growing as an artist.
Conclusion
As we wrap up this enlightening journey into the world of night sky photography, it’s important to always remember that mastering this form of art requires patience, practice, and scientific understanding.
Recap of the 10 essential tips
To quickly remind you of what we’ve covered, here are the 10 essential tips:1. Research and Plan your shoot
2. Choose the Right Equipment
3. Set your Camera to Manual Mode
4. Use a Tripod and Remote Shutter Release
5. Set the Correct ISO
6. Use the Rule of 500
7. Focus on infinity
8. Experiment with Composition
9. Post-Process your Images
10. Practice and Don’t be Afraid of Making Mistakes.
Encouragement for readers to get started with night sky photography
Now that you’re armed with all these fantastic tips, it’s time to get out there and start capturing the beauty of the night sky. Remember, there’s a whole universe waiting for you out there. Keep looking up and keep shooting – the night sky is a canvas just waiting for you to capture its magic. Happy stargazing and shooting!